How-to-change-time-zone-in-webmail?
How to change the time zone in cPanel Webmail
Change the time zone in cPanel Webmail – By default, webmail applications use the host server’s time zone. If you are in a different time zone, you can change this setting.
The exact steps to do this depend on the webmail application you are using. After you change the time zone setting, the interface displays all timestamps in the new time zone right away.
This guide describes how to change the time zone setting for your webmail application.
1. Log into your Webmail.
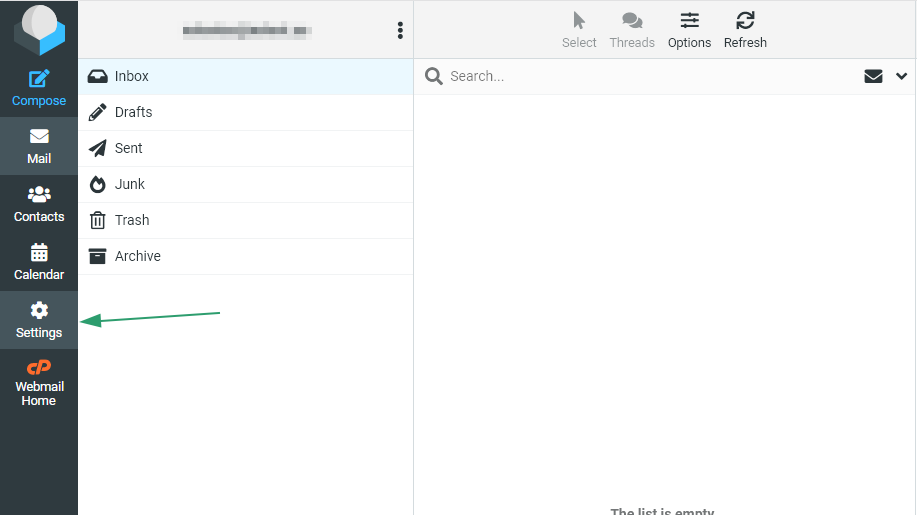
2. Click Settings:
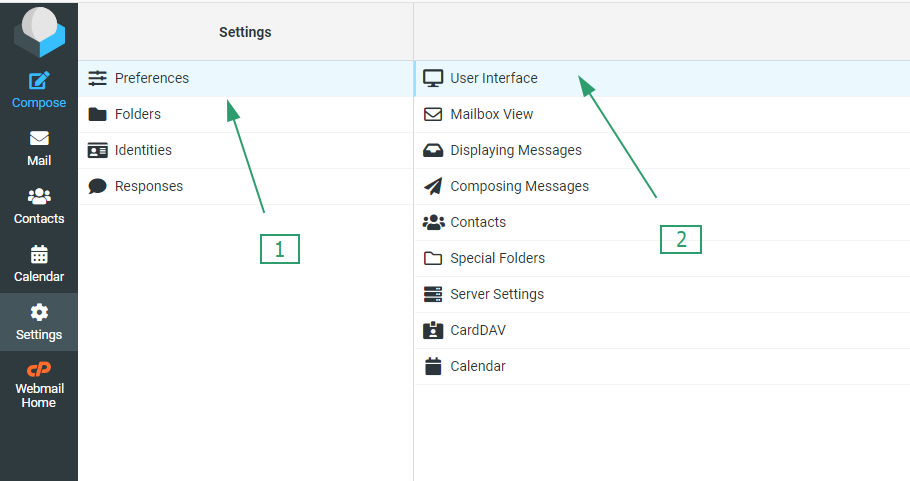
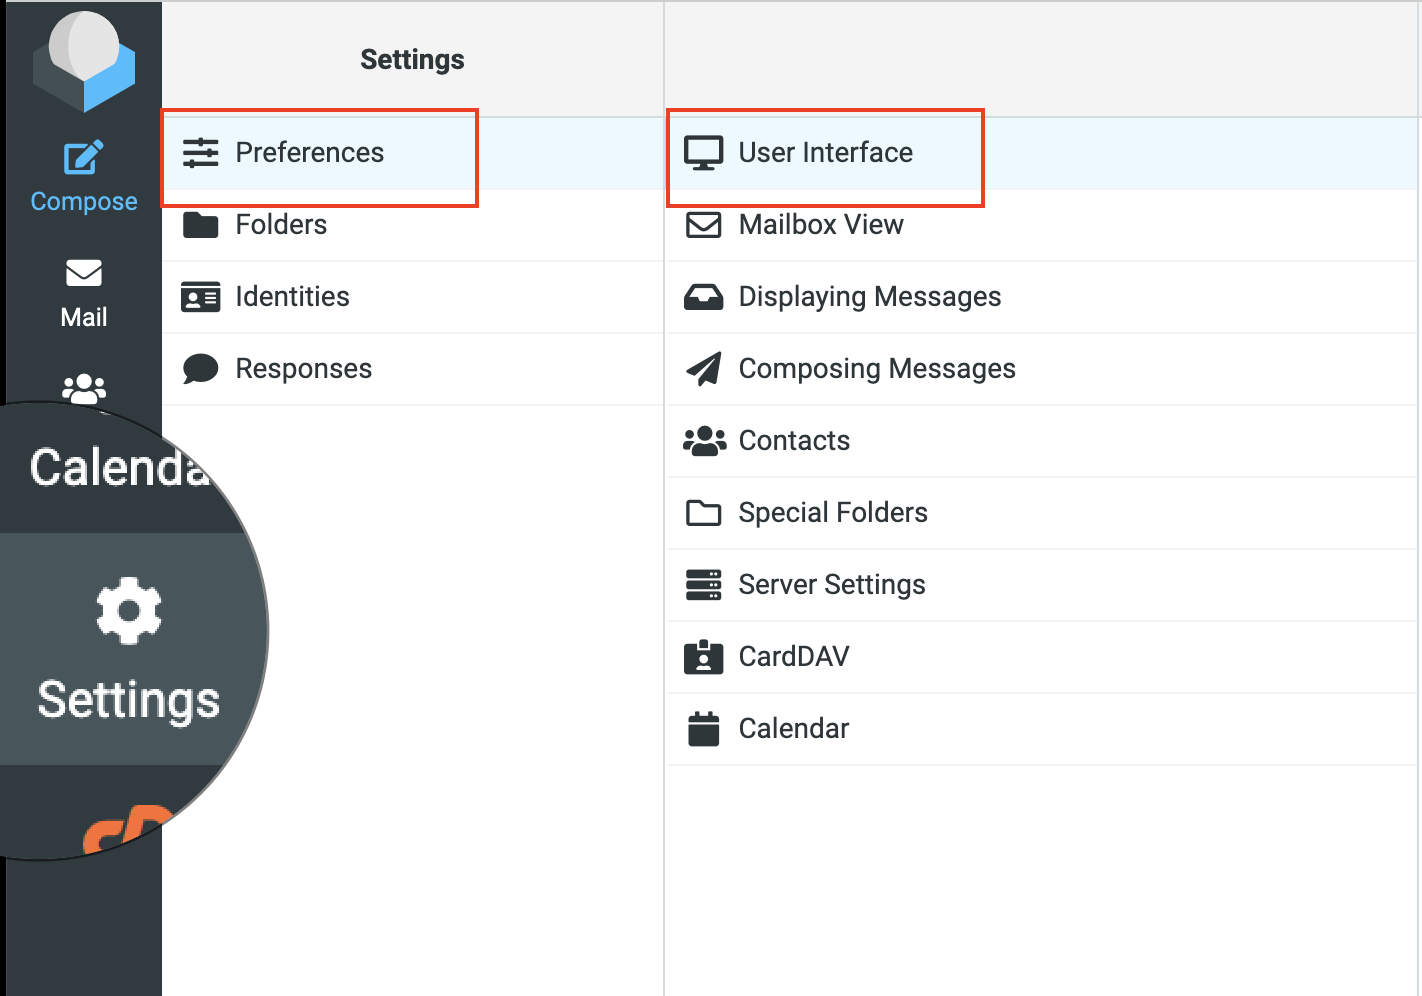
3. Click Preferences, and then click User Interface:
4. Select your time zone from the drop-down list, and then click Save:
Change the time zone in cPanel Webmail – Changing the time zone in webmail typically involves accessing the settings or preferences section of your webmail client.
The steps may vary depending on the specific webmail service you are using, but here are general instructions that should work for most webmail clients:
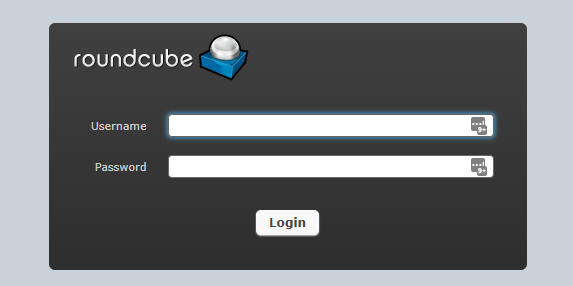
- Login to Webmail: Open your web browser and navigate to the webmail login page for your email service provider. Enter your email address and password to log in to your webmail account.
- Access Settings or Preferences: Once logged in, look for a settings or preferences option. This is usually represented by a gear icon or a dropdown menu labeled “Settings”, “Preferences”, or something similar. Click on it to access your account settings.
- Locate Time Zone Settings: Within the settings or preferences menu, there should be an option to adjust your time zone. This may be located under a section related to general settings, account settings, or calendar settings.
- Choose Time Zone: Look for the option to change your time zone and select the appropriate time zone from the dropdown menu or list provided. This will update the time zone setting for your webmail account.
- Save Changes: After selecting the desired time zone, be sure to save your changes. There is usually a “Save” or “Apply” button at the bottom of the settings page. Click on it to save your new time zone settings.
- Verify Changes: Once you’ve saved the changes, navigate back to your inbox or refresh the page to ensure that the time zone has been updated correctly. The timestamps for emails and other events should now reflect the new time zone setting.
If you’re having trouble finding the time zone settings in your webmail client, you may want to consult the help documentation provided by your email service provider or contact their support team for assistance.